Many homeowners are gung-ho about their DIY projects. If this sounds like you, you might decide to handle more and more work on your own. When it comes to electrical work, caution is always important. If you are running wires through your walls, read this first to make the job safer and easier.
1. Use the Right Tools
Electricians use the proper tools to make the job of running wires through a wall easier. This includes:
- A stud finder to determine where you will run into obstacles
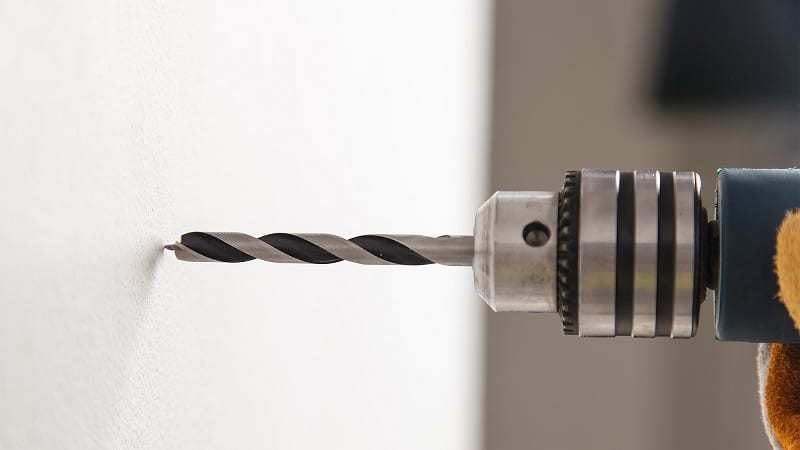
- A flex bit for your drill to make the exit hole
- A glow rod to help pull the wiring through the holes
- A bumper ball to maintain proper spacing
These tools allow you to have a clear passage and pull the wire through with less difficulty.
2. Before You Drill
Once you have your tools, your first step is to have a plan for where you want the wire to come out of the wall or ceiling. With this spot in mind, you can use your stud finder, so you know where you’re going to run into blockages. Your best bet is to avoid studs and cross beams unless that’s the only way to reach your target. Instead, try a new route or a new location where you’ll encounter fewer beams.
3. Measure and Add a Few Feet
If you will be pulling the wire towards you, always have extra wire so you have something to hook onto. This can pose to be one of the more difficult tasks because even if you manage to hook onto it, it’s easier to lose it once you start pulling. A good rule of thumb is to add at least five to six feet more so you can really maintain that tension while you pull the wire through. While it might seem like overkill, you’ll avoid the frustration of losing your hooked end and having to figure out how to get it re-hooked.
4. Drilling the Hole
Once you finalize your location, cut a small hole in the spot you want to pull your wire out. If you are actually installing a fixture or outlet, you should cut the hole based on the specifications for whatever you’re installing. This way you don’t have to enlarge the hole later. Once the hole is cut, you can use the flexible bit to drill your passage through the obstructions you found with your stud finder until you can reach your exit site.
5. Use Your Glow Rod
With your passage drilled, you can fish your wire through the wall. The easiest way to do this is to tie a string to the drill bit so you can pull it to the entry point and then thread the wire to the exit hole. If you use your glow rod attached to the wire, it helps you get through obstructions easily while also offering light so you can see what you’re doing.
6. Difficult Jobs
You’re likely to run into more unexpected obstructions if you are doing something a little more complicated. For example, if you’re just running the wire through one wall from point A to point B without too many studs, the job will be pretty easy. However, if you are doing something like pulling it from the attic or a crawlspace you are going to encounter far more issues. This type of job is not really for the first-time DIYer. It takes some expertise to maneuver the difficult “terrain”. It also leaves you more open to mistakes or accidents.
7. Use Your Bumper Ball
When installing wires they can’t be more than 1.25” from the outside of the drywall, which is why you can’t drill holes right next to the drywall. The problem is flex bits can be hard to control. If you use a Bumper Ball flexible drill bit guide at the end of your flex bit, you are going to ace your spacing, so you can maintain the required 1.25” between the bit and outside wall.
Final Connection
The last step is tricky because it increases the risk of accidental shocks. This is where you connect the wire to your fixture or outlet which is connected to the circuits in your home. Because of the risk, it makes sense to contact a licensed electrician who will handle the job quickly and safely.
If you need to run wires through your walls, contact your Calgary professionals from ClearView Services to make sure it is handled safely.


